Showing posts with label Exotic. Show all posts

Wednesday, December 5, 2018

Pondering the Exotic


Janie's Exotic arrived the other day and I was determined to get to it early this month, so I had thought about the spice markets and wonderful tiles and colours of Morocco as being about the most exotic thing I could imagine- however the lovely Lisa Jones already took Janie's journal to Morocco so the pondering continued. 


Thinking back over my life - what have I done that is exotic, I mean I love gardening and herbs and trees and art and making compost-  There was that time the circus came to town and I raced down there as they were leaving to collect the elephant poo to make my most exotic compost heap ever!


Hmm - maybe not- there are already elephants in Janie's journal and the other images, well nothing exotic came to mind, however the kaffir lime tree and the lemongrass that eventually got that compost loved it. 


Oh well, I had some time to play today so bugger it I will just jump in and let it unfold.  


I started with a magenta oil pastel - that is pretty exotic, right?
and I scrawled the word exotic across the double page.


Looking around my desk I spied the stencil I used for Alice so I grabbed 2 warm and 2 cool 'exotic' colours. I love pink and orange together, it makes me think of Indian sari's and teal is very exotic, as well as my favourite colour, next I picked ultramarine.  I played with the stencil to cover the page and my word.


It was wonderfully vivid, but all those blank spaces! Grab another exotic stencil and some black paint and work in strips to cover some of those spaces and I am loving it.


 Then I scratched off the acrylic paint from the oil pastel to re-expose my word and outlined it in a white posca paint pen.  And in all of that exotic- maybe even chaotic background what would be more exotic than a calm white egret.  He looks like the page was built around him- pulling the whole thing together.


 So I went in without any idea of where I would end up simply following my impulses and intuition and I am very happy with how it turned out and it was lots of fun.

Sunday, November 25, 2018

Lisa being Exotic in Janie's journal!

Great theme that Janie picked, but what to do...!  I thought about it for a while, then decided that what 'Exotic' had always meant to me, was exotic places.  

For me, this brought to mind dusty marketplaces with a myriad of little lane ways, filled with old trinkets, bags of spices, and bolts of brightly coloured material - the medinas of Marrakesh in Morocco.


So I trawled through Pinterest looking for inspiration.  And the things that popped out for me, weren't market pics at all, but doors!  So I had to change my idea and go with this instead!

I didn't take any progress pics.  Janie's journal is very long, and it took a while to decide on how to best use it.  All of the pics I wanted to use were portrait, not landscape, so didn't really fit well!

In the end I opted to do four different scenes across the double page, and I like how it turned out.  I gessoed the pages, drew my scenes in pencil, outlined them in waterproof pen, then painted with watercolour.  I recently bought a new Koh-I-Noor round 6 palette called Summer Collection, and the bright colours were perfect for this!

So here are the four panels:


And the whole spread:


Hope you like it Janie; I had fun painting loosely with these bright colours!

Cheers, Lisa

Thursday, June 21, 2018

Exotic Butterflies for Janie

Butterflies are incredible creatures that are in thousands of different shapes, sizes and colours... such variation - some wander for thousands and thousands of kms, others stay close to home, some live such short lives. All are extroardinary and beautiful.

I've used Dylusions paints, Jane Davenport Mermaid Markers and Tim Holtz stamps (foam and rubber) to create a magical garden of exotic beauties.

awaiting the next step
I made the journal page a bit back to front. I'd made all the butterflies to this stage before creating the background. To make them, I stamped all the Tim Holtz Flutter By Stamps with an Archival black ink pad. I was going to stamp with colourful inks, but our encyclopaedia shows nearly all butterflies have either black, white or brown outlines.

butterflies resting in an Australian art journal page
Here they are resting after having their wings inked with Distress Ink Black Soot using an Ink Blending Tool and black Wink of Stella (shimmery paint pen) added to their bodies. The antennae was made using Tim's thick cotton thread attached on the back using Wondertape. Poor things had them chopped off with the die-cutting.

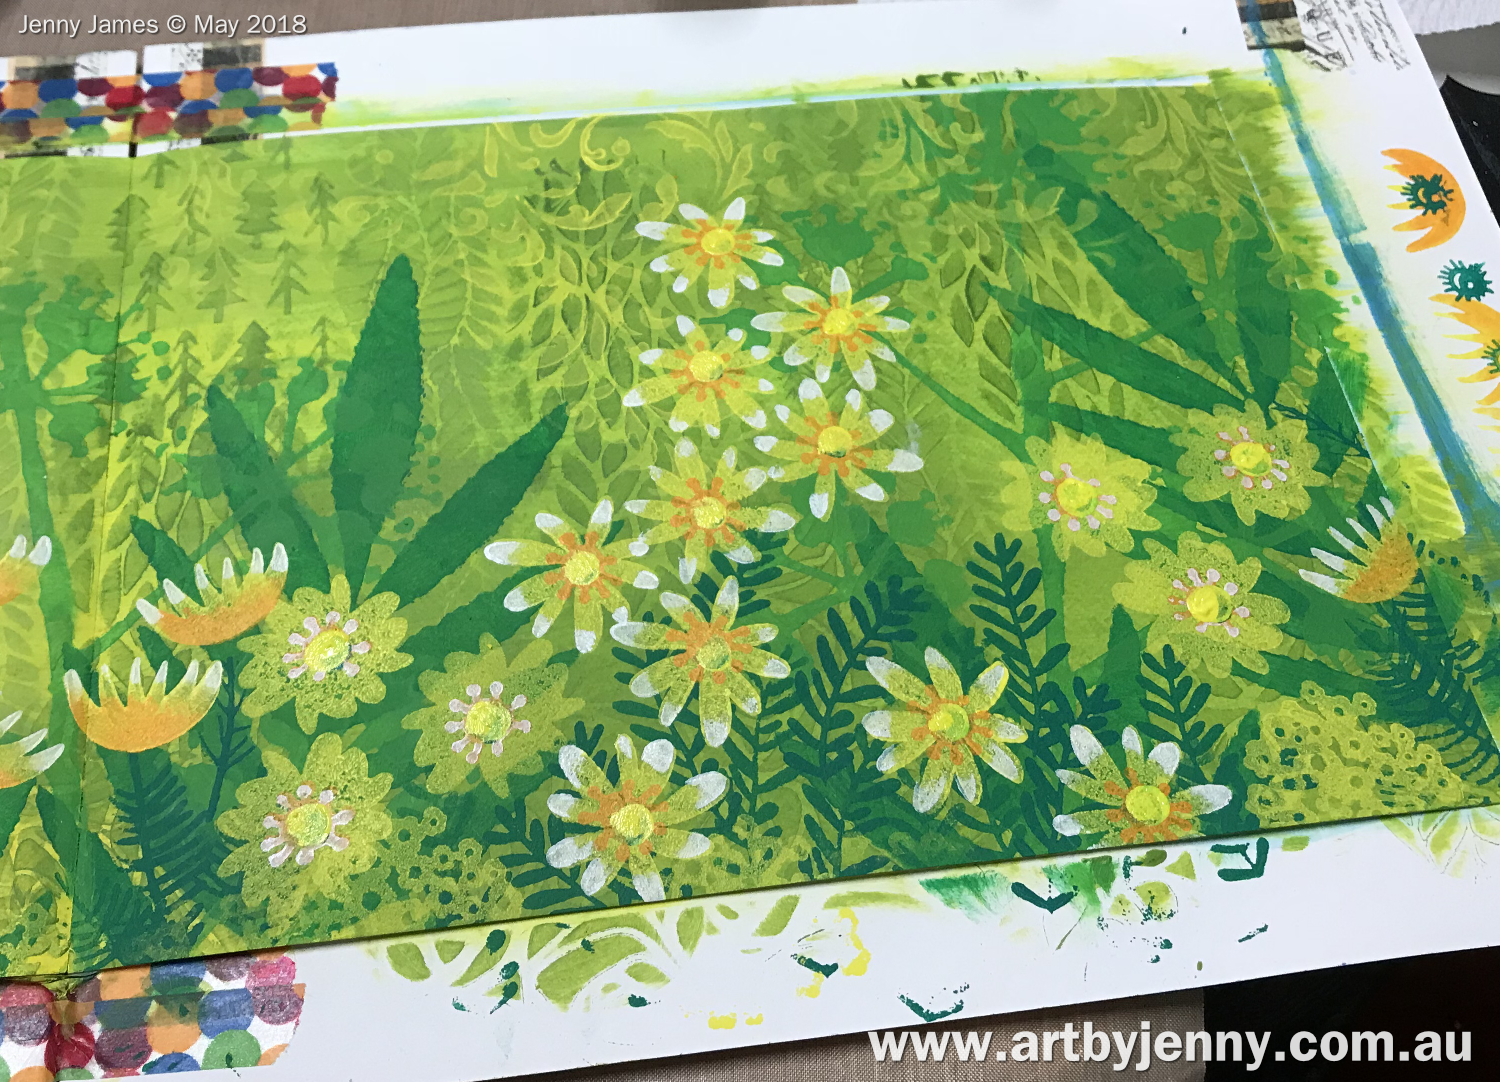
Dylusions paint in yellow and green are the start of this art journal page
The background was made layer upon layer, using acrylic paints with stencils and foam stamps. I've used Darkroom Door Fern and Blossom with Tim Holtz Flourish, Leafy, Scribbles, Tiny Trees (called something else) and Feathers. 

The first layer was Lemon Zest and Dirty Martini, smooshed all over the page then left to dry as I sifted through my stencils.

creating a garden using Dylusions acrylic paint with stencils
Stencil designs were added using the Foam Blending Tool with only two colours, Dirty Martini (olive green) and Polished Jade (darker blue-green).

creating a garden using Dylusions acrylic paint with stencils and foam stamps
Using the Vibrant Turquoise and Funky Flowers Foam Stamps by Tim, I created the foreground foliage.

creating a garden using Dylusions acrylic paint with stencils and foam stamps
Flowers were then added using Lemon Zest and Pure Sunshine... the fab thing about foam stamps (apart from their cool shapes and not having to cut apart potatoes!) is that you can see exactly where to overlay the colours. 

To print the whole shape one colour I dip the stamp in paint and press, but to just add part of the stamp, like the white tips of the petals, I use the foam blending tool to add the paint.

creating a garden using Dylusions acrylic paint with stencils and foam stamps
Ta da... :D I don't seem to have a photo of the whole spread at this stage.

making butterflies with Tim Holtz and Sizzix Bigs templates
The two giant butterflies were made using Mermaid Markers (coloured in a basic shape), cutting out the shape (I used my Cuttlebug) using the Tim Holtz Butterfly Duo Bigz Die, then embossing with the texture fades folder. I then inked over the butterfly after it was dry, using Black Soot Distress Ink.

I created the big blue butterfly the same way. Then both got coated in iridescent medium and the black Wink of Stella paint pen after having their antennae added. I may or may not have added glitter... I was doing something else with glitter and shimmer at the same time so my mind could just be messing with me! lol :)

close up of a fantastical ulysses butterfly
Closeup pic of one of my faves... who am I kidding, all the butterflies are my faves. Even the red ones after I added white spots and more glittery shimmery stuff.

finished flock of butterflies made using stamps, stencils, mermaid markers and paints
Above : Left hand side, all finished with quotes and words from Tim Holtz Idea-Ology Chit Chat Washi Tape and Metallic Quotations stickers.

Below : Right hand side, all finished.
finished flock of butterflies made using stamps, stencils, mermaid markers and paints

So there we have it. A completed flock of flutterbies and butterflies, almost as beautiful as what Mother Nature creates :) I love moths and caterpillars too!

All treasures available at www.shop.artbyjenny.com.au :)

Hope you like it Janie <3

Thanks for reading, wandering through this blog post.

Happy Creative Day!
:)
Jenny